
THE EASIEST GF BREAD RECIPE
Have you found a gluten-free bread recipe that’s easy to make – one that is both healthy as well as deliciously light and fluffy? Well this is the easiest gluten-free bread ever.
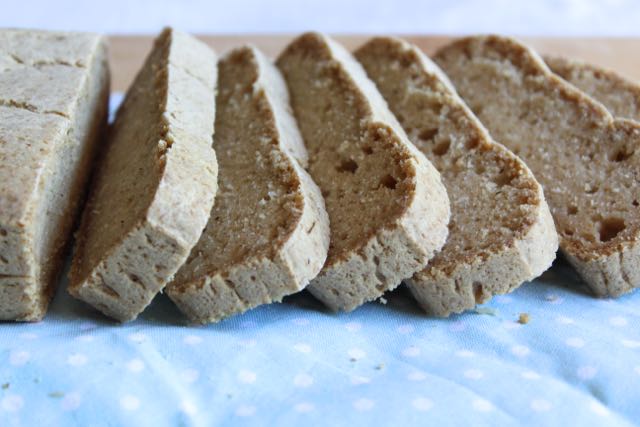
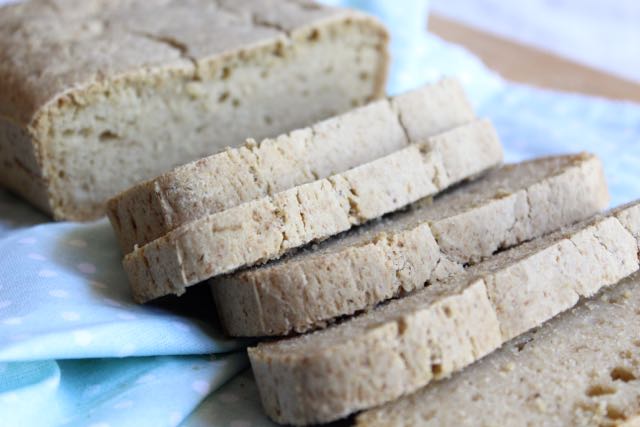
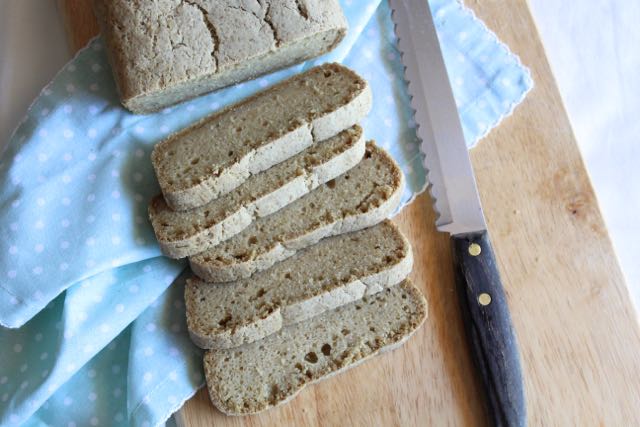
This bread is so easy to make, it’s totally healthy – it’s light and fluffy, and it has a great crust. I love a good crust!
It can be pretty hard to find a good quality, gluten-free bread from the store that tastes delicious… and one that doesn’t go stale after a day. That’s why I usually don’t buy breads from the store anymore. I just make my own!
Now I know that it can seem like a total mission to bake a loaf of bread every week – but this recipe is honestly so simple that it won’t feel like a hassle at all.
[Confession: I’ve made this bread 3 times this week]
This recipe is gluten-free, dairy-free, sugar-free, plant-based, full of fibre and full of healthy nutrients.
♥
I hope that you love it as much as my friends, family and I do – I’m sure that you will! xo
THE GF BREAD STORY
A few years ago I went completely gluten-free, but I could never find good gluten-free breads in the stores (they usually contained more sugar, refined flours and preservatives than regular bread) – and so I eventually just gave up on bread altogether.
It also always seemed like such an effort to make my own bread, that I didn’t even try.
Then finally about 2 years ago I decided that I should give “making my own bread” a go. I really crave a slice of fresh bread sometimes, or a crispy piece of toast!
I’ve experimented with a lot of bread recipes over the last 2 years… but I really love this one.
It’s just so easy to make… and oh-so-yummy to eat. I love it!
♥
Ps. Be sure to check out my favorite suggested toppings below!
What ingredients have I used?
In this recipe, I use psyllium husk seeds – for two reasons.
The first reason is that these little seeds absorb a lot of water (becoming “gel like” when mixed with water) and they therefore help to hold the bread together nicely. The second reason is that psyllium husks are very high in fibre – which helps to reduce bloating, constipation and other digestive issues often associated with eating bread.
Psyllium husk seeds are such a great, natural source of both soluble & insoluble fibre! Psyllium husks are one of natures most absorbent fibres and are often prescribed to help with digestive issues such as constipation and diarrhea.
Fibre is very important for maintaining a healthy digestive system. It is also great for weight loss and for helping to lower cholesterol levels.
I use oat and rice flour to make this bread. Oat & rice are naturally gluten-free, full of healthy fibre and nutrients. I find that by using half oat flour and half rice flour, I’m left with deliciously light and fluffy bread – that also has a great crust!
This bread recipe requires no kneading or rolling – just mix all of the ingredients together, pour the batter into a bread pan and bake!
*Please note that if you are interested in taking a dietary psyllium supplement, it is important to read the instructions carefully. Do not give psyllium to young children, as it can be a choking hazard.
THE RECIPE
Ingredients:
-1 cup oat flour (ground oats)
-1 cup rice flour (brown or white)
-1 + 3/4 cups water
-3 tablespoons psyllium husks
-2 tablespoons apple cider vinegar
-2 tablespoons melted coconut oil (or another oil: olive, macadamia)
-1 tablespoon 100% pure maple syrup (or raw honey)
-1 teaspoon fine sea salt (or 1/2 teaspoon course sea salt)
-1 teaspoon bicarbonate of soda
(makes about 16 slices – with roughly 90 calories per slice)
THE METHOD
Instructions:
-preheat your oven to 180 degree’s Celsius/ 360 Fahrenheit
-mix the oat flour, rice flour, psyllium husks, sea salt and bicarbonate of soda together in a bowl
-then mix in the water and stir it in quickly, getting rid of any lumps
-add the melted coconut oil, apple cider vinegar and pure maple syrup
-stir the batter well with a spoon
-grease a bread pan with additional coconut oil
-pour the batter into the bread pan and smooth out the top with a back of a spoon (can dip a spoon into melted coconut oil to help smooth it out)
-place the filled bread pan in the oven and bake for 40 minutes
-after 40 minutes remove the bread from the pan, and place it upside down on an oven tray
-bake the bread for another 40 minutes (upside down)
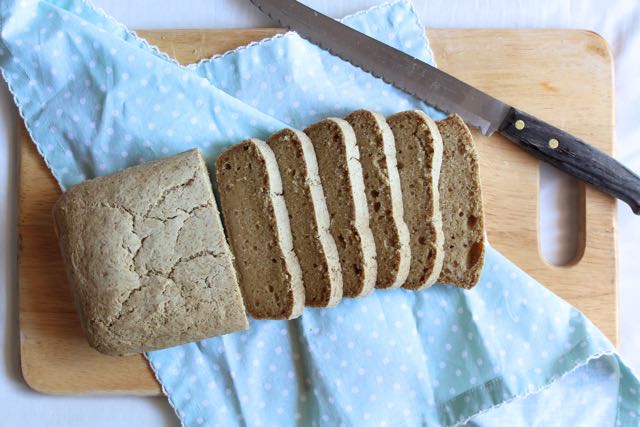
-once the bread baked, remove it from the oven and leave it to cool before cutting it (difficult because it smells so good, but important)
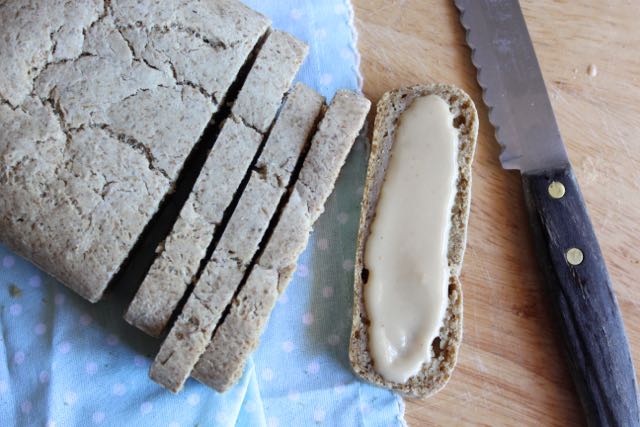
-once the bread has cooled, slice and serve
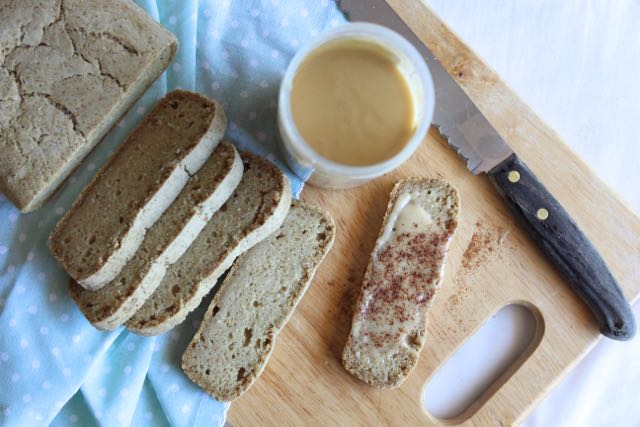
-top with unsweetened nut butter, tahini, avocado, cashew nut cheese, eggs or any other topping of choice (see my top suggestions below)
-eat & enjoy!
-once the bread has cooled fully, store in an airtight container in a cool place to keep fresh
Made with love by Liezl Jayne xo
Serving suggestions
aka my favorite ways to eat this bread
-with nut butter (almond, macadamia, cashew or peanut butter)
-with nut butter and fresh banana slices
-with nut butter and a sprinkle of cinnamon (it’s amazing!)
-with almond butter, a sprinkle of cinnamon, a tiny drizzle of pure maple syrup & a few fresh blueberries!
-with cashew nut cheese (or any cheese of your choice)
-with tahini, black olives, arugula, cherry tomatoes, sea salt & cracked pepper
-with avocado, sea salt & cracked pepper
-with eggs (poached, boiled, fried or scrambled) and fresh arugula or basil leaves
-with avocado slices and a sprinkle of pumpkin seeds
-toast it (makes yummy toast) and eat it with your favorite topping!
Photos by Liezl Jayne Strydom for liezljayne.com